Seamless Looping Neon Trail in Blender

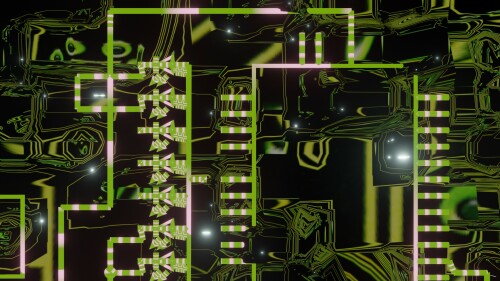
I’d like to return to the fifth video in the Design Yourself series to show how i did a glowing neon trail. The video is heavily themed around robots, and if you look in the background you’ll see that it’s actually a circuit board.

The circuit diagram was a random one I built using the rather excellent Fritzing software. If you’re ever looking for high quality SVG illustrations of electrical components then Fritzing is a great resource. I brought the exported SVG diagram into Blender to illustrate it a bit.

If you look closely you can see that the circuit board has a glowing trail. To achieve this effect I followed this tutorial:

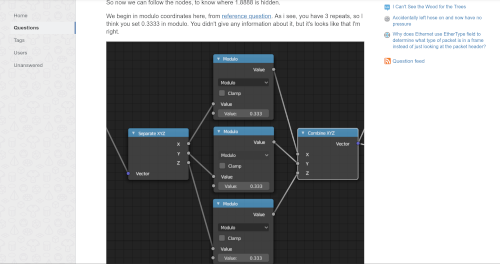
At around 6:00 the author tries to find the point where the neon trail position loops but does it visually. At first I was doing the same but then I remembered that in the past I had faced a similar problem when trying to loop the Wave texture. To get an answer for that question I consulted the Blender Stackexchange site

I adapted this a bit and came up with the following solution: To seamlessly loop the neon trail effect first insert keyframe with the Value of the Add node set to 0. Move to a point along the timeline where you want it to loop and add another keyframe to the Value of the Add node and type (0.3333*pi)/$scale (but replace $scale with whatever the Scale of the Wave texture is). My node setup is the same as in the video but here it is as well:

click to embiggen

Now when you play the animation the neon trail effect will loop seamlessly!

OSP Print Party

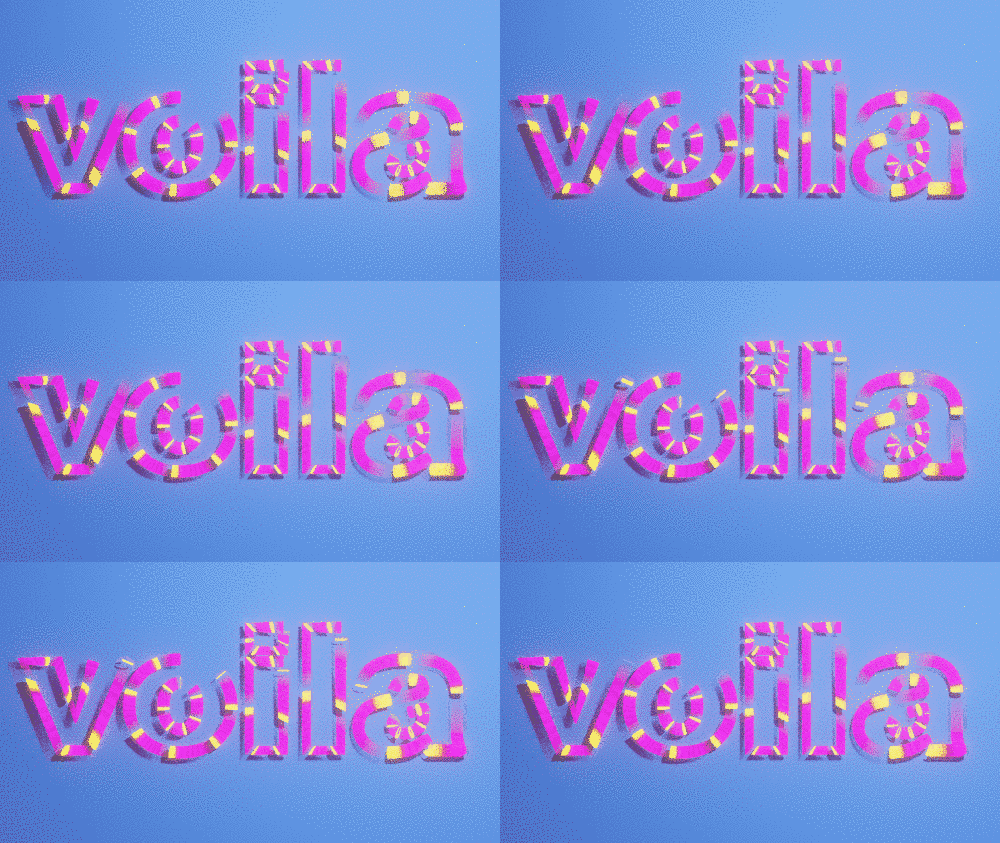
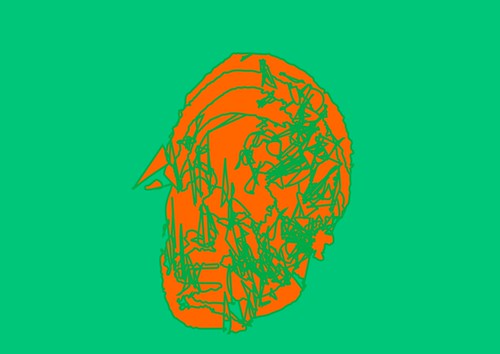
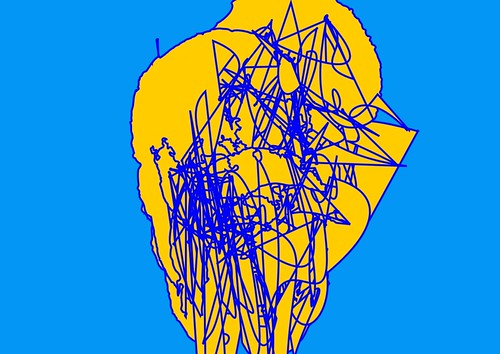
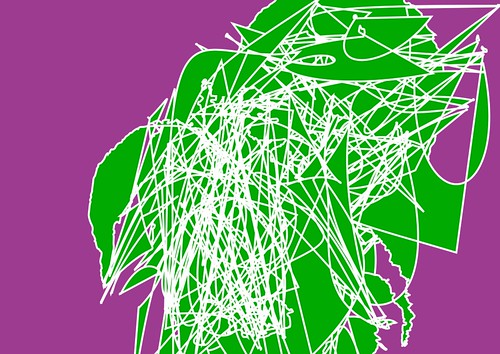
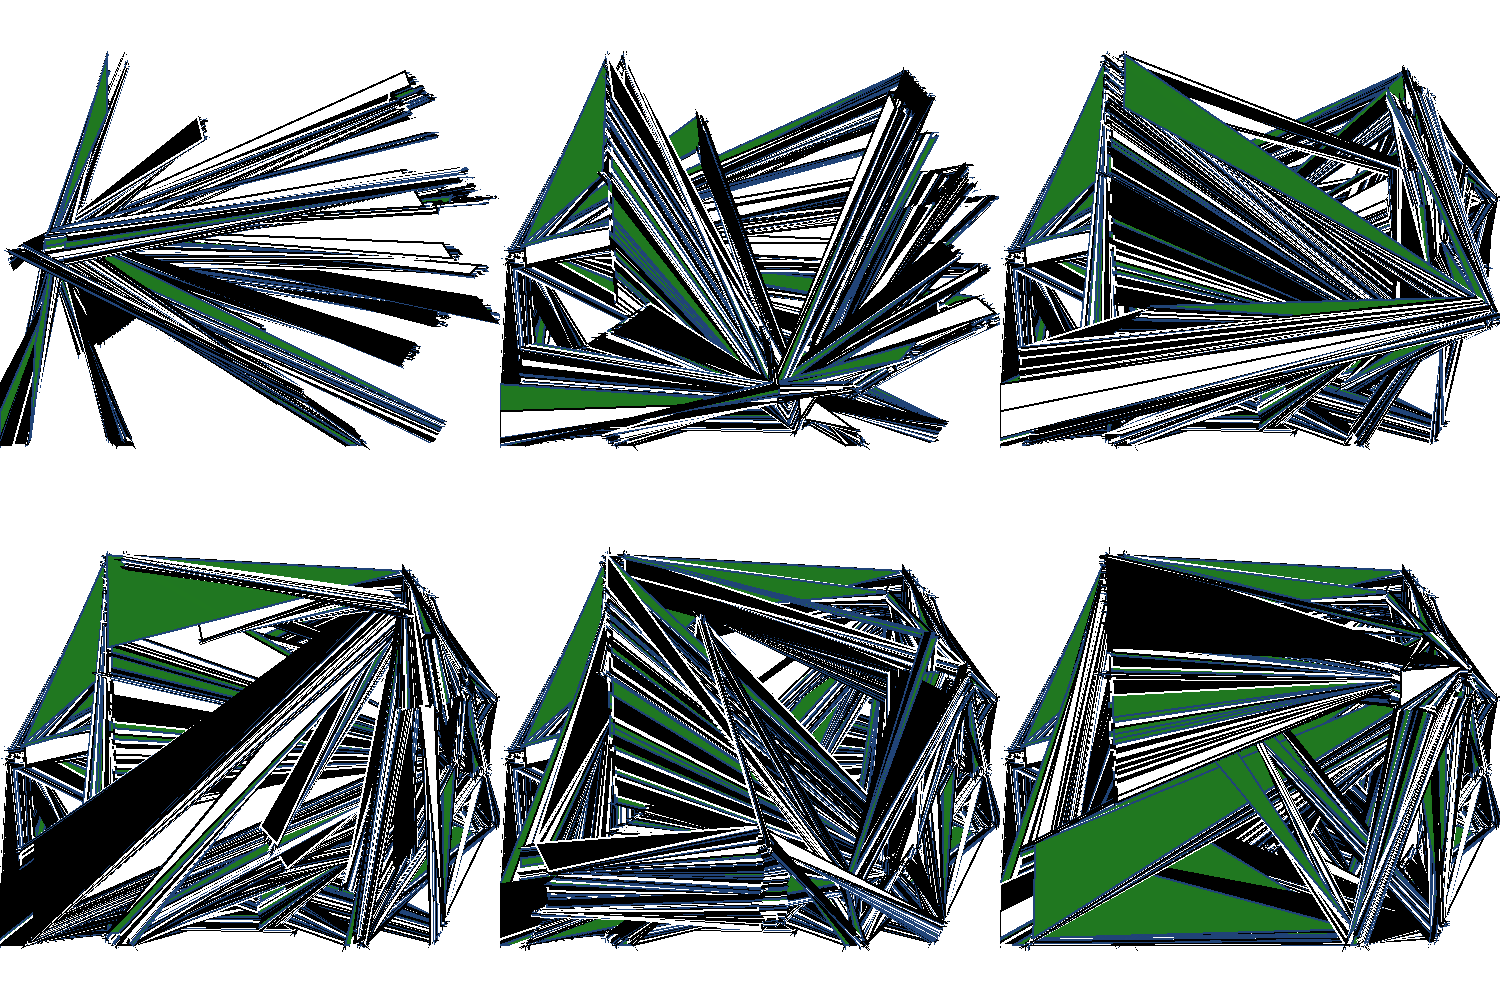
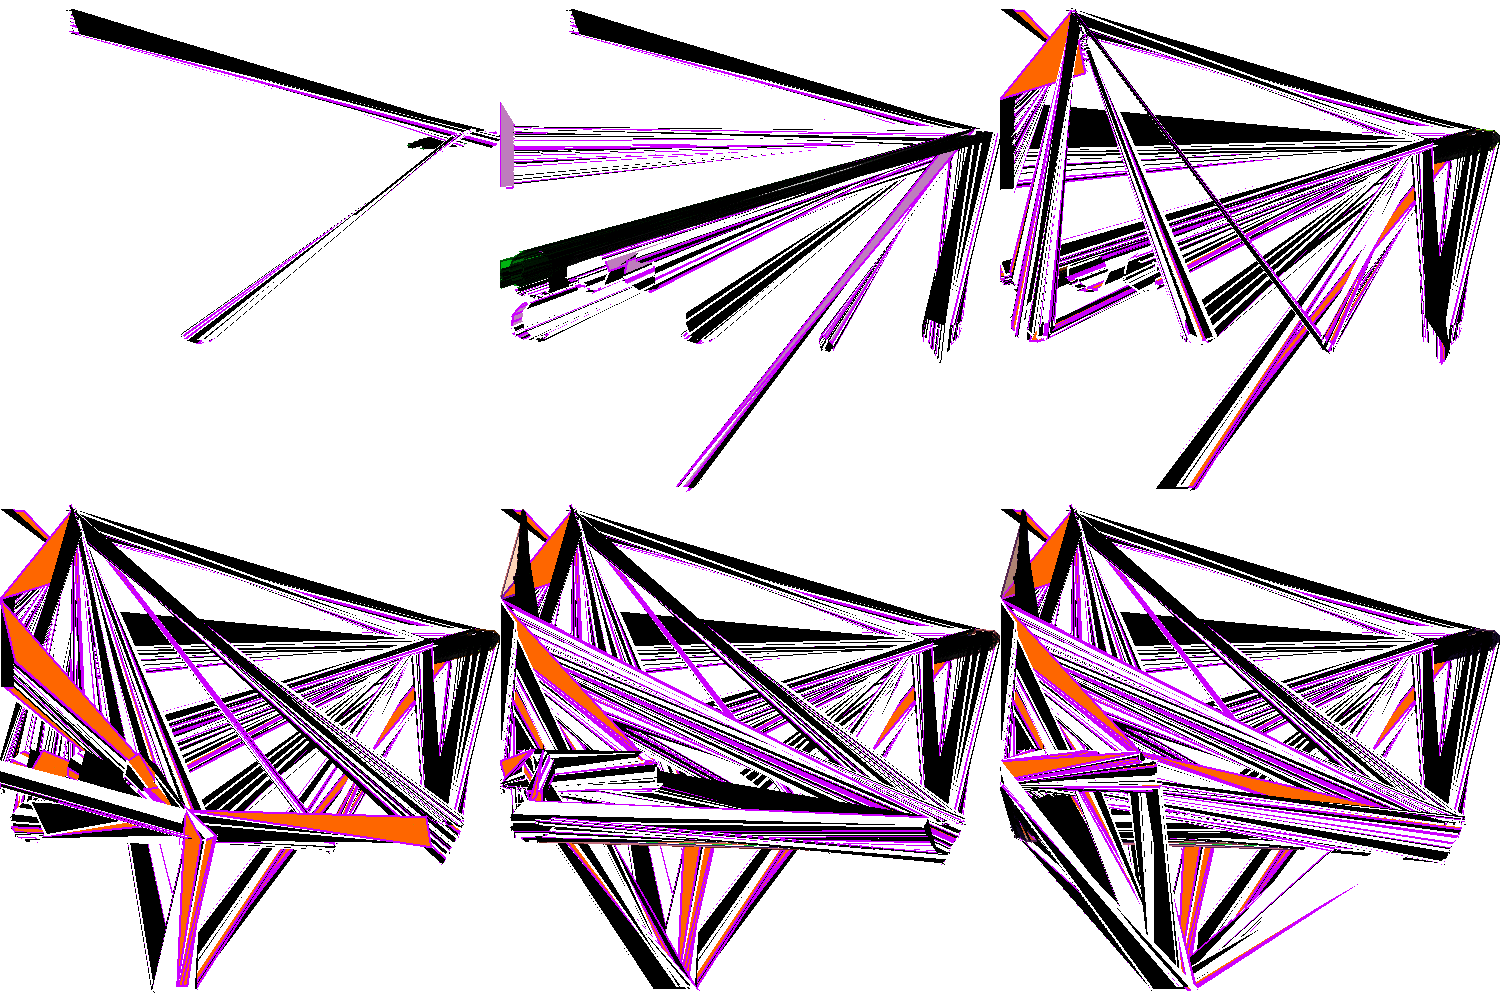
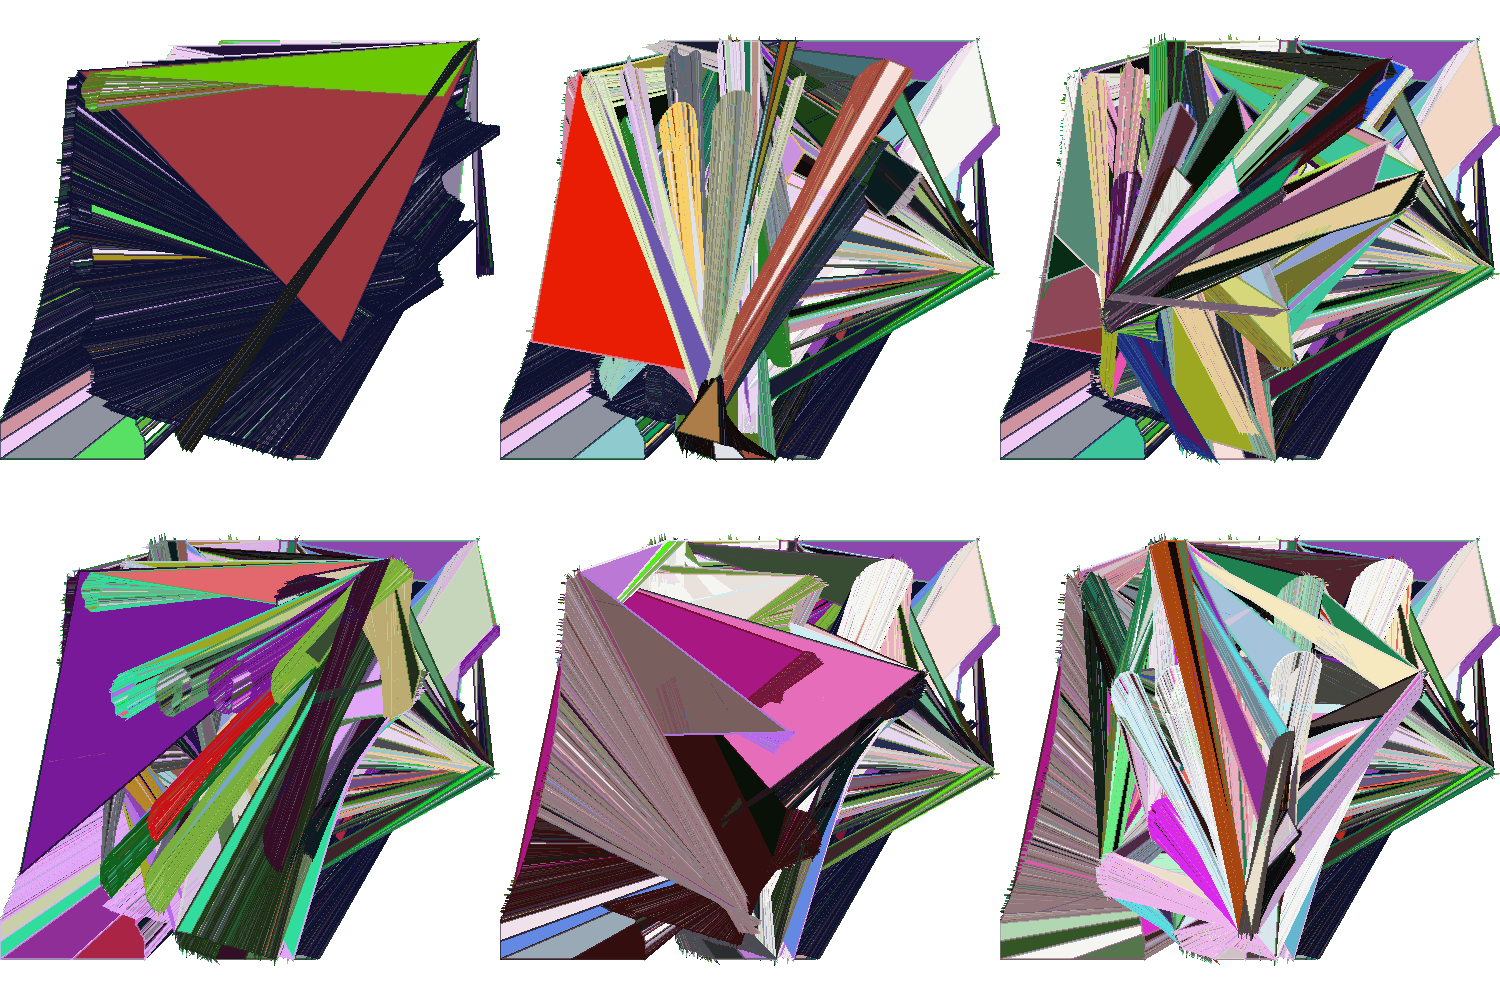
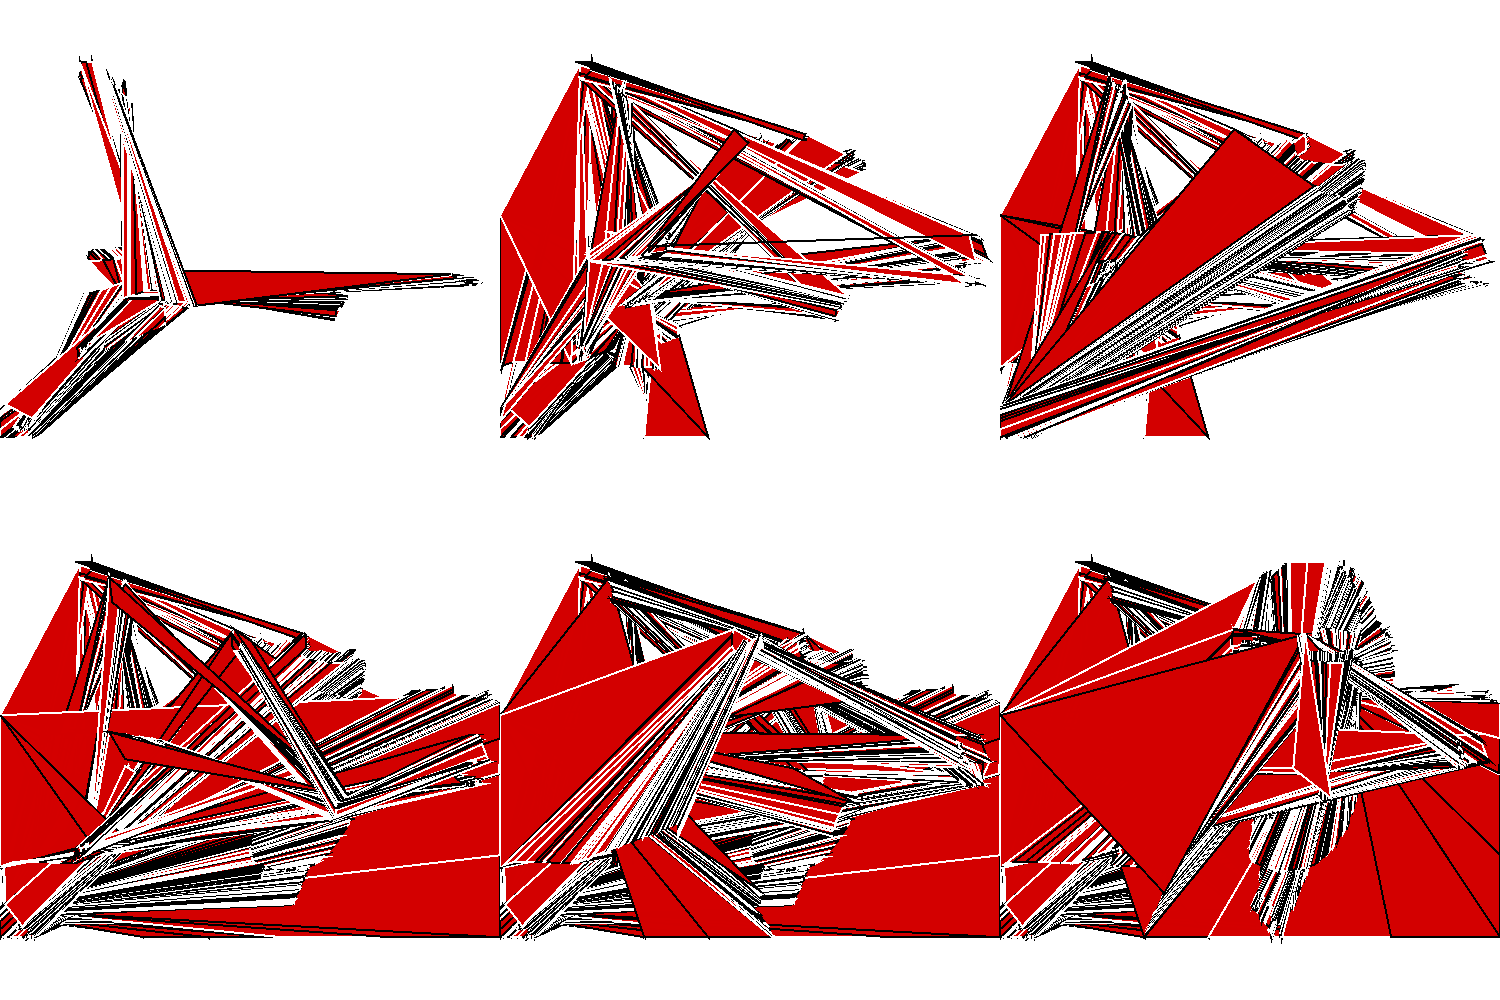
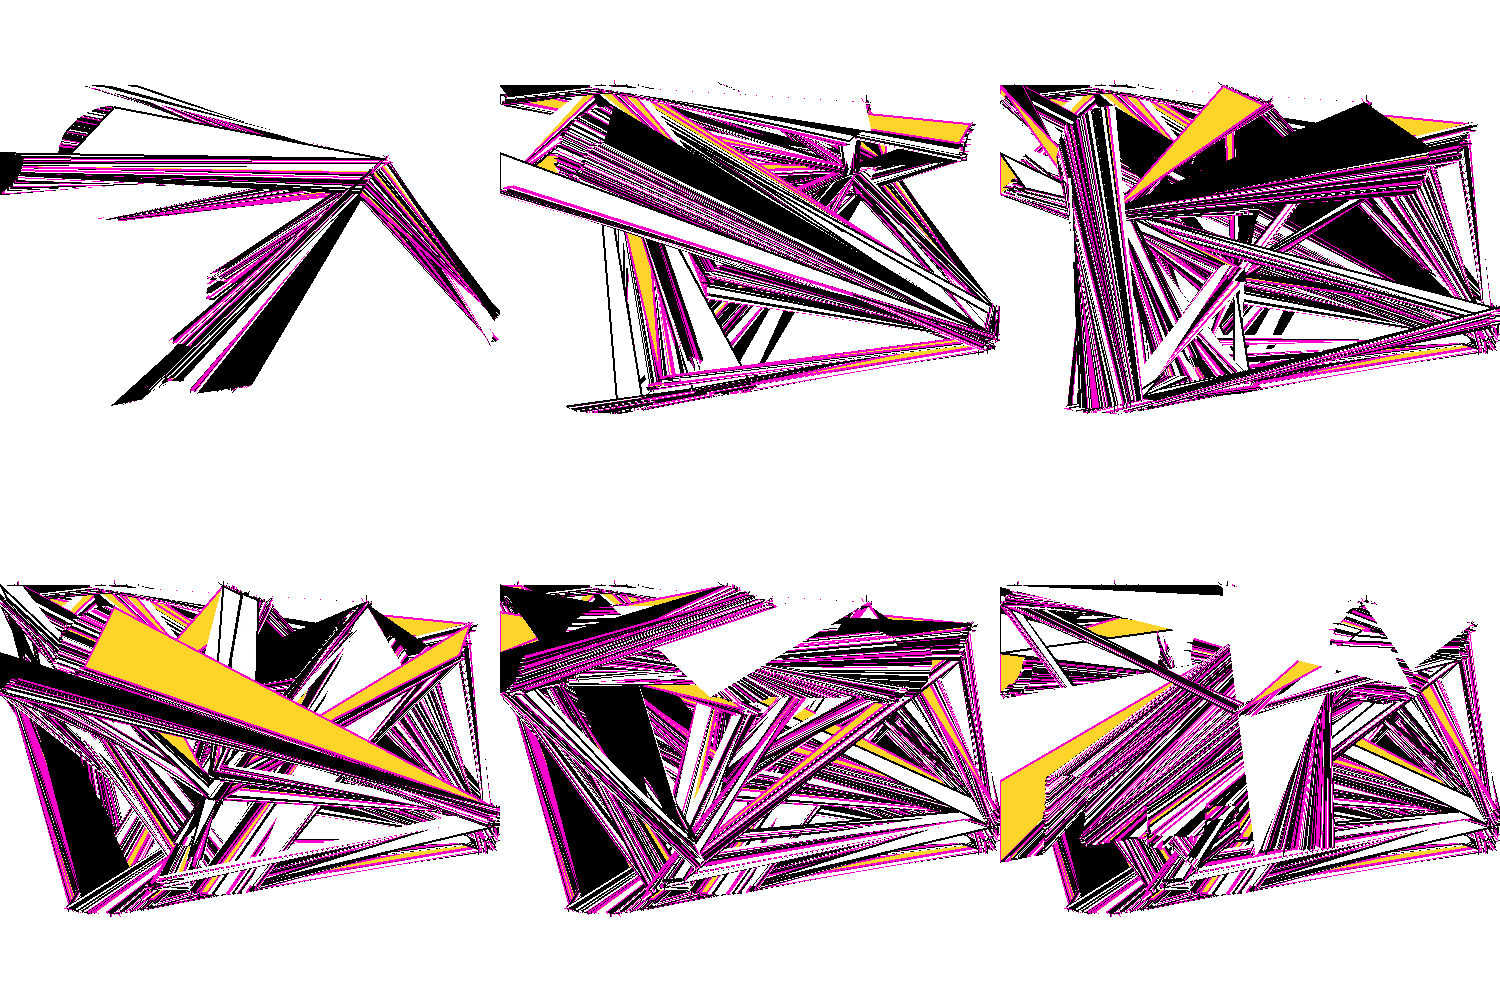
For OSP’s Print Party on October 18th I made a bunch of new software and modified some old software that did sonification of text, bitmap, and vector images. I saw it as a way to differently engage with the usually static images featured throughout the festival. Here’s some of the visual output from a Processing sketch that, when combined with Pure Data, would redraw an SVG and convert it to sound:

ospprintparty_1

ospprintparty_3

ospprintparty_2

ospprintparty_4

And here’s an example of a fish being sonfied. Expect lots of bleepy noises:

If you’re interested in using the software the repository is located here and this particular code resides in the listetoSVG folder. The Processing sketch for that piece is a modification of this sketch by emainorbit. I may revisit and develop this software but for now there will be no detailed writeup of how to use it.

As an experiment it was really interesting to “bring to life” a static programme. There is a danger that the performances – whcih I’m sure OSP will write about at some point – deviated too much from the idea of a print party, but in isolation I felt they worked really well!

The making of Comic Sans Must Die

Comics Sans Must Die ended some time during the week of GLI.TC/H 2112. Although it only lasted just over a month long, the creation of Comic Sans Must Die actually started in July 2010 when I stumbled across the Geomerative library for Processing as a way to manipulate SVG files. After a bit of fiddling with one of the example files I was able to take (almost) any SVG file and gradually reduce it over time.

Furby

This “destruction” is exactly what happens when you press Ctrl + L or Path > Simplify in Inkscape. It reduces the amount of nodes in the paths to simplify their construction, resulting, at times, in a very polygonal shape.

Processing Sketches

In the two years that followed I experimented with ways to export the on-screen destruction of the files to an animation (either gif or video file). I came across the gifAnimation library, which did exactly that. Soon after I was able to able to combine the two libraries to produce an animation of a SVG file being gradually destroyed. With the help of Richard Clifford this script was modified to also work on a folder full of SVGs. You can download both sketches from my Open Processing portfolio or below:

CSMD_multiple

Sketch for multiple files. Click to download

CSMD_single

Sketch for single file. Click to download

At the moment these sketches only work with Processing 1.5. They’ve been tested against gifAnimation from January 2008 and Geomerative rev 34 and were originally developed on Ubuntu 12.04. They can only be used on the Desktop, though the challenge is there for someone to make a version for web browsers.

Working with Comic Sans

With the Processing scripts in place I needed a way to destroy each individual glyph of Comic Sans. For this I turned to FontForge. Using the following command (on Linux) I was able to output each glyph to an SVG file:

fontforge -lang=ff -c 'Open($1); SelectWorthOutputting(); foreach Export("svg"); endloop;' Comic_Sans_MS.ttf

Of course, you can replace Comic_Sans_MS.ttf with any font file on your computer. Quite handy!

I then came across another another problem. The Processing scripts work by reducing the number of nodes until there are almost none. If there are very few to begin with then the process will be over very quickly and you’ll have a very short animation! Inkscape has the capability to add nodes, but so far this can only be done using the GUI. Luckily Inkscape Verbs came to the rescue. Using the script below I was able to mimic a user manually selecting the shape and adding more nodes:

#!/bin/bash
for file in *.svg
do inkscape -f $file --select=path6 --verb ToolNode --verb EditSelectAll --verb org.ekips.filter.addnodes.noprefs --verb FileSave --verb FileClose
done

Save that to a file and run it inside a folder full of SVGs.

Node numbers

Before: 47 nodes. After: 1317 nodes.

For some reason all of the paths in the file were called path6. You may want to change that for your own SVG files. This script, and Verbs in general, have the drawback of always launching a GUI. The developers are aware of this and hopefully this will change in the future.

Destroy your own…

These sketches and scripts can be run on more than just font files. Any SVG that Geomerative can handle (not .ai files) can be used, even logos and jpg/gif photos converted to SVG.

Ubuntu Lego Facebook

Beginnings of a glitch typeface

I was speaking with Jon earlier about my work and he’s noted that a lot of it has been text based and then asked if I was working towards making a typeface in the same style. I must admit, my recent text based work has mostly been an excuse to use the awesome Kawoszeh typeface, but I feel he’s onto something.

Whilst I’m quite far from a complete typeface I’ve been doing a few experiments:

Believe it or not that is the letter A glitched in the same way (replaced 9 with 15), but under different conditions. The reason for the above experiment is wanting to find the best environment in which to make the typeface. For example, the more nodes you have on a shape the more variance you get. The type of nodes that you have also has a major effect.

I’m also thinking about what typeface to use as a base. Being mostly Brummie I’m drawn towards hacking Open Baskerville although using just Arial Black provided some good results, as can be seen in my short glitch animation

I’ll have something produced next year and, should I finally do some coding, actually have a script to databend for me and make the whole process a bit more random!

Bull Glitch

You may have noticed that in my previous post there was a nice little image of the Bull Ring Bull. I did that! Before I go on, it’s not an image that will be used for Birmingham’s City of Culture bid (though if you really like it monies plz). It’s more an image just to represent the work that we’re doing to collect opinions of Birmingham.

bull glitch

Although not a completely original concept (Andy Warhol anyone?) I have utilised a few newly found techniques to create it. Whilst the results, and indeed databending as a whole looks cool I have yet to use it in any real world situations. Until now that is.

To begin I found an image of the Bull and cut it out of the background. I then took it into Inkscape and used the Trace Bitmap function (Alt + Shift + B) and traced it several times using different settings. I saved svgs that scanned for several different colour values. After saving a copy of the original I basically databent it i.e. replaced some numbers with other numbers using a text editor. I’ve described this process in a lot more detail in this earlier tutorial.

I still did manipulate the image afterwards (a bit of shifting of layers and colour/opacity adjustments), but the overall random effect was achieved this way. Here’s how the others turned out:

Bull Glitch (by hellocatfood)

And now we wait to see if we actually become City Of Culture

Databending: Where next?

I’ve been exploring databending for awhile now and whilst I quite like it I do wonder where it can go next, or rather, where I can take it next. Whilst I like the chaos and apparent random results achieved in opening up an image file in a hex/text editor and mucking around I feel that more could be done with the result. I feel that the modified image (or sound) should part of a design, not the design itself. With that in mind I’ve been doing an experiment mixing the chaotic but more controlled output of Alchemy and several modified images

April (by hellocatfood)

Essentially what I have done with the images is applied a clipping path to them using a few of the shapes present in the original image. There of course is then scope for editing the SVG in similar ways.

April Bent (by hellocatfood)

This is a very similar technique to preparing a .psd with many layers and then modifying it. It has been discussed whether this way of using the resultant image constitutes databentbending, but you could argue that with databending you’re attempting to reproduce and control the output of a glitch or error and so if you’re then able to control it it is no longer an error.

Regardless of classifications I’d really like to see where I can take databending next and how I can incorporate errors into design.

Family Portrait

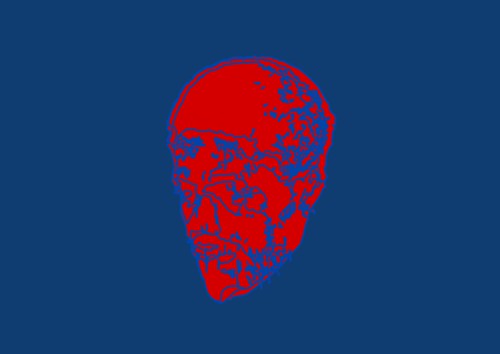
After seeing some of my recent work I was asked to do a family portrait. The last time I did a portrait on such a large scale was in 2007 in Adobe Illustrator and the last time I did a realistic portrait was probably back in 2006 of an old photographer buddy. I’ve been using Inkscape for just over a year now and whilst I’ve been doing little bits and pieces I haven’t actually done a major illustration.

As always I started with the outline first and filled it in with basic colours. I used GIMP and a very useful cutout filter to help me visualise how I was going to layer the colours and shapes that I needed. From there it was a simple case of refining and perfecting! Have a look at some of the progress shots:

1 2 3 4

The finished product looks like so and is probably my favourite piece this year:

The finished family portrait

The finished family portrait

The finished result was printed onto a canvas and is mounted on their wall. Yay!

If you’re that kinda person you can have a look at the wireframe of the image:

wireframe 1 wireframe 2 wireframe 3 wireframe 4

Overall working in Inkscape was quite easy in terms of drawing. One bit of praise I often hear about it is its drawing and node editing tools, and it really did feel quite easy to draw this. However, there are two areas where I feel Inkscape hindered my creativity in creating this piece.

The first is how it implements brushes. Inkscape does this by using the Pattern Along Path Live Path Effect, which in some instances can be more useful than Illustrator’s brush tools. What I feel some users want is for the pattern to act as the stroke of a path and to still be able to edit the fill of a path. This would’ve been very useful for me when drawing the hair.

The second is it’s lack of extensive layer blending modes. Currently Inkscape has five layer blend modes, which includes normal/no blend and these can only be implemented on layers, not individual objects. As far as I know you were able to set the blend mode for each paths in 0.44, but it was removed for technical reasons. I achieved the effects in my earlier work by, at times, combining over ten different blend modes on individual objects. Take a look at this walkthrough by popular vector artist verucasalt82 and you’ll see why it can be quite handy. So, in the absence of blend modes for individual paths could we see a few more blend modes, overlay in particular?

With all of that said, you can see that Inkscape is still a very capable program. I overcame many of the problems I described by just doing things a little different than usual.