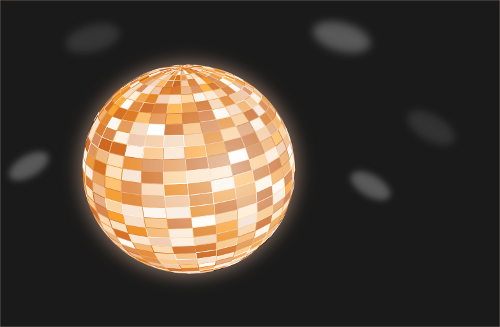
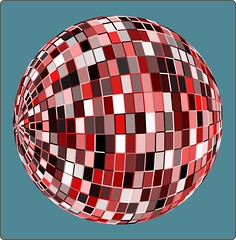
Awhile back I started doing a few experiments using Blender and Inkscape together. One of my creations from this was a ball.
Recently one Inkscape user created a tutorial describing how to make a disco ball directly in Inkscape. Looking back at that ball that I made it kinda resembles a disco ball, so I decided to write a tutorial on how I did it.
This tutorial assumes that you know at least something about Blender and Inkscape. If not, go look at these tutorials for Inkscape and these tutorials for Blender. As with any program, the more you use it, the better you get at it.
We’re going to need three things before we begin. First install Blender. It’s available for Mac, Windows, Linux and probably any other system you can think of. Did I mention that it’s completely free? Next, install the VRM plugin for Blender. This is a free Blender plugin that allows you to export your Blender objects as an SVG (the file format that Inkscape uses by default). I’ve discussed the usefulness of this plugin before. Lastly, install Inkscape, if you don’t have it already. I’ll be using a beta build of 0.47, which should be officially coming out within the next two weeks. If not, just grab a beta build as it’s pretty stable.
Once you’ve installed these programs open up Blender and you’ll see the cube on screen.
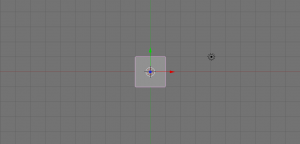
Depending on how best you work you may want to switch to Camera view. You can do this by either clicking on View > Camera or pressing Num0 (the 0 key on the keypad). What we now see is what the camera sees. If you were to export this as a jpg or SVG this is the angle that you’d see it from.
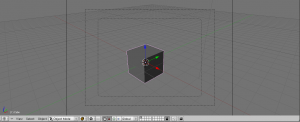
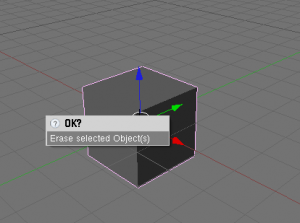
We need remove this cube and add a UVsphere to the screen. Right-click on the cube and press X or Del to delete it.
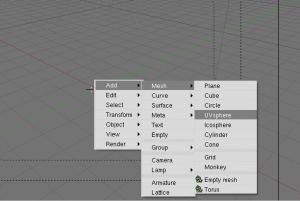
To add a UVSphere, in the main window press the Spacebar and then go to Add > Mesh > UVSphere.
You’ll now see another dialogue box asking you to specify the rings and segments. This is important as it’ll define how many tiles there are in your disco ball. Think of these options in this way. The segments option is like the segments of an orange and cuts through the sphere vertically. The rings option cuts through it horizontally. These diagrams might explain it better:
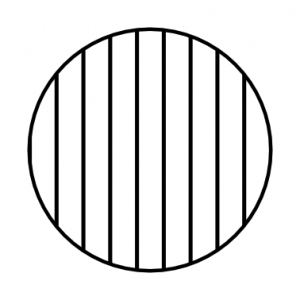
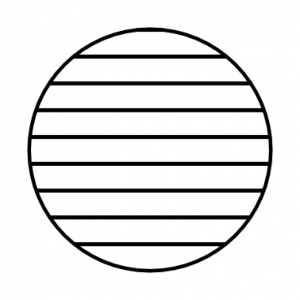
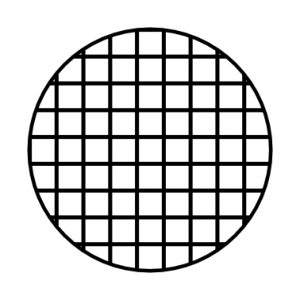
The default is for both to be 32, but, if you want more tiles increase the value and if you want less decrease it. Once you’ve chosen press ok and your sphere should be on screen.
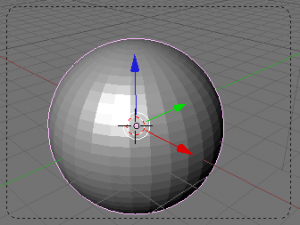
You can reposition, rotate or scale your sphere if needed. To reposition it, with the sphere selected (right-click it if it isn’t selected) press the G key. This grabs the object that’s selected and allows you to move it freely. Try moving your mouse about. This can be useful, but we’re working in a 3D environment which…er.. has three dimensions that you can move along. To move it along a set axis you can either left-click the arrows coming out from the sphere or, after pressing the G key, press the key that corresponds to the axis that you want to move it along. For example, if I wanted to move the sphere along the X axis (the red line) I’d press the G key, the the X key. Now, no matter how I move the mouse the movements of the sphere are constrained to the X axis.
Similarly, to rotate the sphere press the R key and to scale it press the S key. The same rules about constraining it to a certain axis can still apply.
You can do things such as repositioning the camera other such trickery but for that you’ll need to learn more about Blender for that.
With your sphere now ready go to Render (at the top of the screen) and then press VRM.
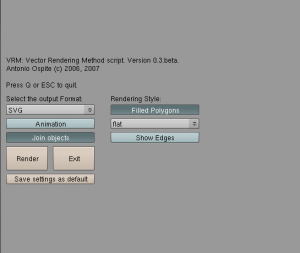
I left the options as they are, but if you feel adventurous have a mess around. When you’re ready press the Render button and then choose the place on your computer to save it and what name to give it and finally press Save SVG. You’ll notice the egg timer appears in place of your mouse cursor to let you know that something’s happening but otherwise there’s a handy progress bar at the top of the screen.
![]()
Open up the saved object in Inkscape and voila!
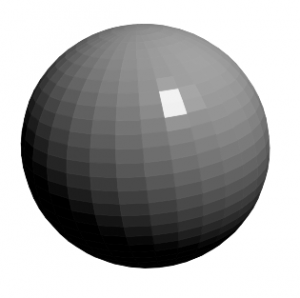
That’s the first part of this tutorial done! The next part draws upon some of my own experiments but is also taken from the original tutorial.
When you’ve opened up the sphere you’ll notice that it’s all one object. This is because all of the paths (the tiles) are grouped into one. You can ungroup it if you want but for this tutorial you don’t need to. Give your object a base a fill and stroke colour. You can do this using either the colour palette at the bottom of the screen or the Fill and Stroke dialogue (Object > Fill and Stroke or Ctrl + Shift + F).
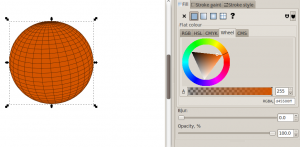
The final step of this tutorial from me is the following. With the base colour selected we’re now going to randomise the colours but within that hue. To do this we’re going to use the randomise filter which is located in (in Inkscape 0.47) Extensions > Color > Randomise.
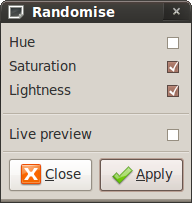
Leave the Hue option unchecked (unless you want a multicoloured sphere) and then press Apply.
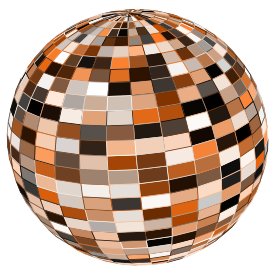
There is of course more that you can do to make this disco ball look more realistic but take a look at the tutorial that inspired this one and come up with something of your own 😉
