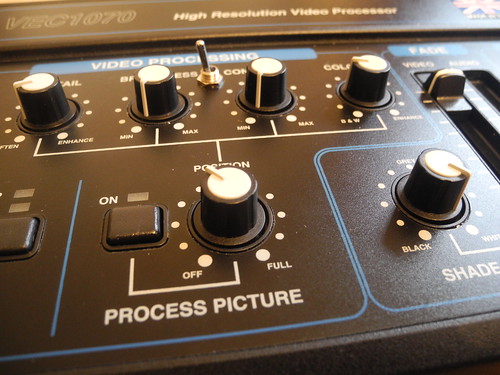
I had the pleasure of meeting up with Tony Hill recently, where I acquired a copy of his new glitch zine, Junk DNA of the Digital Mind. He was kind enough to divulge that he used some of the devices by Video Tech Designs to create content. Being relatively cheap (due to their limited functions) I immediately got onto ebay to find my own to bend, which I did at the Many & Varied Skills Share Jamboree!
Bending the VEC1070
The unit itself is a fairly simple one when compared to actual video mixers like the Panasonic WJ AVE3. Karl Klomp has a more in-depth look at the hackability of video mixers.
Aside from basic video adjustments, like brightness and contrast, there isn’t much else you can do. That is until the bending begins!
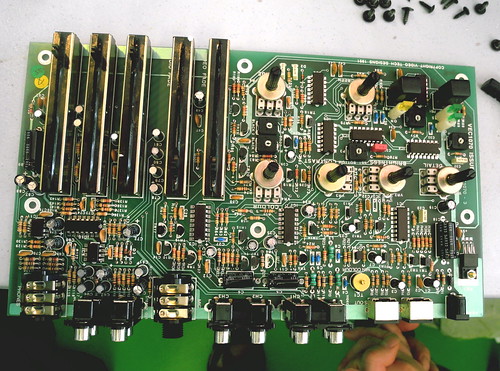
For this modification I simply added an on/off switch to the first and middle pins of the potentiometer controlling contrast. When the switch is turned on and the contrast turned up to its maximum things start to get glitchy! The results are probably easiest shown in the below video:
As you can see things looked great when the unit was connected to an analogue TV but less so when connected to a monitor or projector via the composite port, and by that I mean there was often no display at all! As a perpetual beginner to the world of circuit bending I’ll admit that my understanding of why this is happening is still hazy, but I’m led to believe that the glitchy video causes synchronisation errors, causing the device reading the signal to get confused and fall over. To rectify this I (may) need a time base corrector. Any expert knowledge regarding this is warmly welcomed!
I did not let this glitch in the works stop me from trying to find a way to record at least a bit of output to my computer. Upon my return to basecamp home I raided my device clump and found a hacky solution that utilises the VEC1070, my laptop (running Ubuntu 12.04 on a Dell Studio 1555), an external monitor Easy Cap USB TV capture card and a scan converter (this one).
Creating a loop
Perhaps the hardest part to configure in this connection was the Easy Cap USB TV Capture Card. There exists a blog dedicated installing a using the USB card with a particular bias towards those with the DC60 chipset. Luckily the one that I purchased years ago has that chipset and so installation was fairly painless but time consuming. The aforementioned blog has all the info you’ll need/find regarding finding, installing and using the card on Linux.
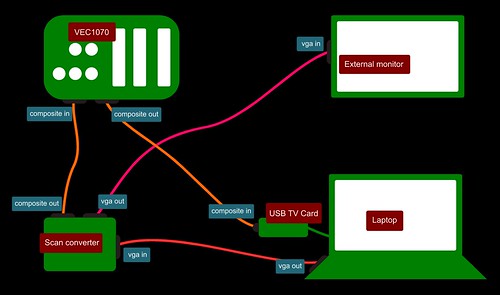
The rest of the connections are perhaps best explained in the following diagram:
The reason for the external monitor is to monitor the output of the VEC1070 and do some feedback loops! It’s not necessary in all cases. For this scenario I also set my display to extend the desktop, rather than mirror it.
Recording the output
Displaying the output was not always a big headache. Now that the USB capture card is a video device (mine is /dev/video3) I could display it on screen using avplay -f video4linux2 /dev/video3. The output sometimes stuttered, but it was otherwise ok. Unfortunately, as with the VGA monitor and projector, the moment I turned on the glitch switch it almost instantly cut out. This left me ~1 second to capture some of the visuals using screen-recording software. 🙁
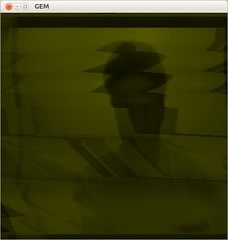
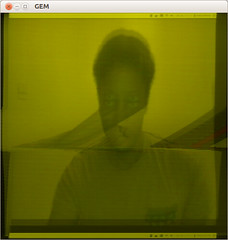
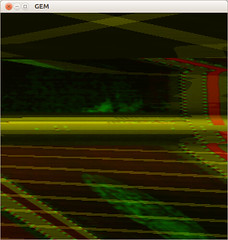
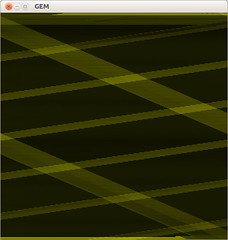
Strangely, however, Pure Data (yet again) came to my rescue. Using Pd-extended 0.43.4 I was able to send the message [device /dev/video3 ( to [pix_video] to display the output of the VEC1070. Furthermore, it didn’t cut out as often when I flipped the glitch switch! The only drawback? The colour is mostly yellow and green. :-/
This, I believe/am hoping, can be fixed in an update to the Easy Cap kernel module. I’ll be doing some bug reporting…
Or
I should probably just buy a time base converter and a composite to VGA scan converter.

