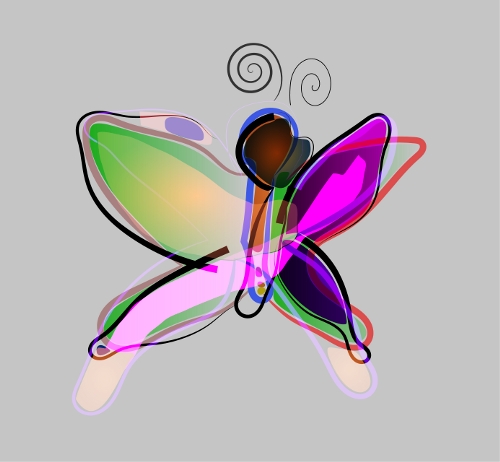
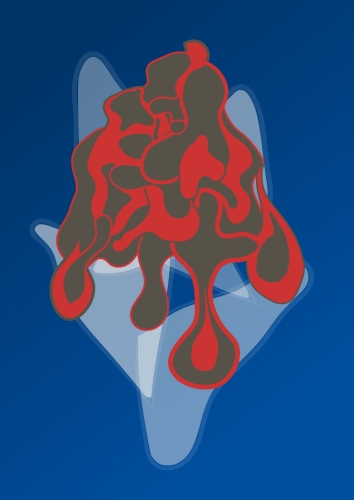
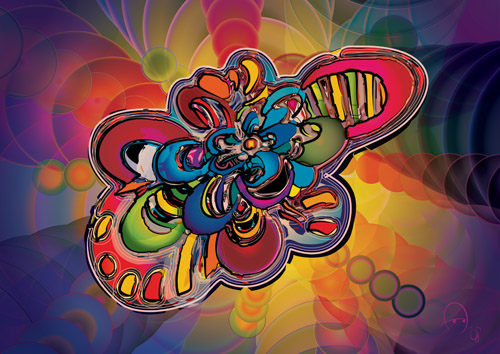
New deviantART ID

I’ve been a part of the deviantART community for a lot longer than I have had a blog or website. I used to be very active but then drifted slightly away ’cause of the whole blogging thing though recently found myself at one of the devMeets. It’s a great way to meet other amateur, hobbyist and even professional artists, photographers and creative types. In an attempt to get back into the swing of things I created myself a new ID image:

Find me on dA: hellocatfood.deviantart.com

You probably will recognise some of the styles used in there from previous tutorials that I’ve written. Well, they’ve finally been of use to me! Expect more stuff like this from me in the future.

If you’re on deviantART too why not stop by my page

Databending using Audacity

Thanks to some help on the Audacity forum I finally know out how to use Audacity to databend. Previously I’d been using mhWavEdit, which has its limitations and just doesn’t feel as familiar as Audacity. From talk on the various databending discussion boards I found that people would often use tools like Cool Edit/Adobe Audition for their bends. Being on Linux and restricting myself to things that run natively (i.e. not under Wine) presented a new challenge. Part of my task was to replicate the methods others have found but under Linux. My ongoing quest is to find things that only Linux can do, which I’m sure I’ll find when I eventually figure out how to pipe data through one program into another!

Here’s some of my current results using Audacity:
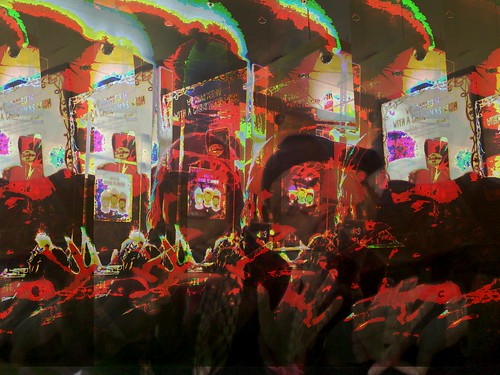
Gabe, Abbey, L and me (by hellocatfood)

Liverpool (by hellocatfood)

Just so you don’t have to go trawling through the posts on the Audacity forum here’s how it’s done. It’s worth noting that this was on using Audacity 1.3.12-2 on Linux. Versions on other operating systems may be different. Before I show you this it’s probably better if you work with an uncompressed image format, such as .bmp or .tif. As jpgs are compressed data there’s always more chance of completely breaking a picture, rather than bending it. So, open up GIMP/your faviourite image editor and convert it to an uncompressed format. I’ll be using this picture I took at a Telepaphe gig awhile back.

Next, download Audacity. You don’t need the lame plugin as we wont be exporting to mp3, though grab it if you plan to use it for that feature in the future. Once you have it open go to File > Import > Raw Data and choose your file. What you’ll now be presented is with options on how to import this raw data, which is where I would usually fall flat.
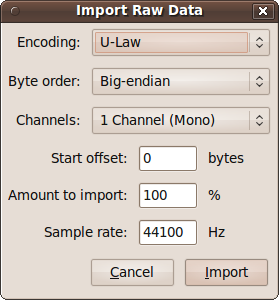
Import Raw Data

Import Raw Data

Under Encoding you’ll need to select either U-Law or A-Law (remember which one you choose). When you choose any other format you’ll be converting the data into that format. Whilst you want to achieve data modification this is bad because it’ll convert the header of the image file, thereby breaking the image. U/A-Law just imports the data. The other settings do have significance but I wont go into that here. When you’re ready press Import and you’ll see your image as data!
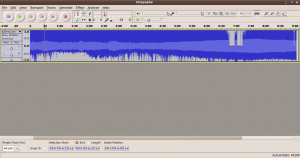
Image as sound

Image as sound

Press play if you dare, but I’d place money on the fact that it’ll probably sound like either white noise or Aphex Twin glitchy goodness. This is where the fun can begin. For this tutorial select everything from about five seconds into the audio. The reason for this is because, just like editing an image in a text editor, the header is at the beginning of the file. Unless you know the size of the header and exactly where it ends (which you can find out with a bit of research), you can usually guess that it’s about a few seconds into the audio. The best way to find it out is to try it out!

Anyway, highlight that section and then go to Effect > Echo
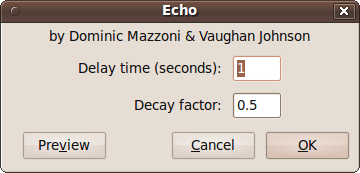
Apply the echo

Leave the default settings as they are and press OK

You’ll see that your audio has changed visually. It still wont sound any better but the magic happens when you export it back to an image file, which is the next step.

Once you’re happy with your modifications go to File > Export. Choose a new location for your image and type in the proposed new file name but don’t press save just yet. You’ll need to change the export settings to match the import settings.
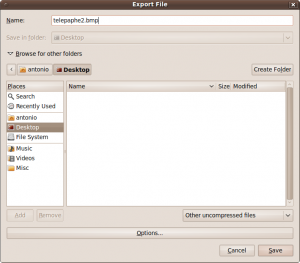
screenshot_11_16_110037

Change the file format to Other Uncompressed Files and then click on the Options button.
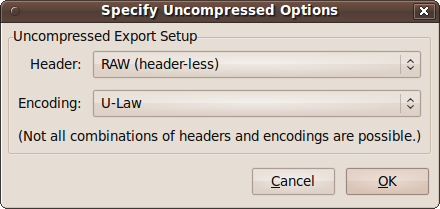
Export settings

Export settings

Change the settings to match the ones above (or to A-Law if you imported as A-Law). With that now all set you can now press Save! If you entered a file extension when you were choosing a file name you’ll get a warning about the file extension being incorrect, but you can ignore it and press Yes. If you didn’t choose a file extension, when the file is finished exporting, add the appropriate extension to the file. In my case I’d be adding .bmp to the end.

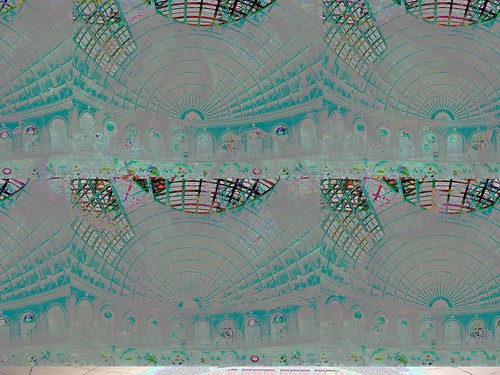
Here’s the finished image:
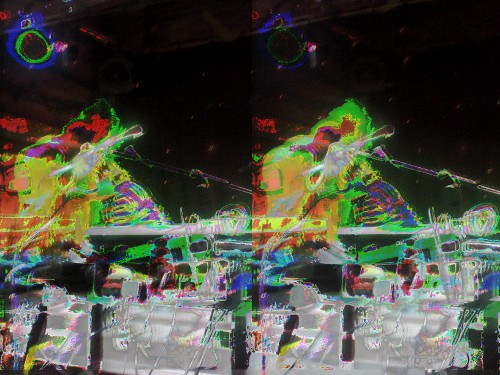
Freaky!

Freaky!

There’s of course so many different filters available in Audacity, so try each of them out! If you’re feeling really adventurous try importing two or more different images and then exporting them as a single image.
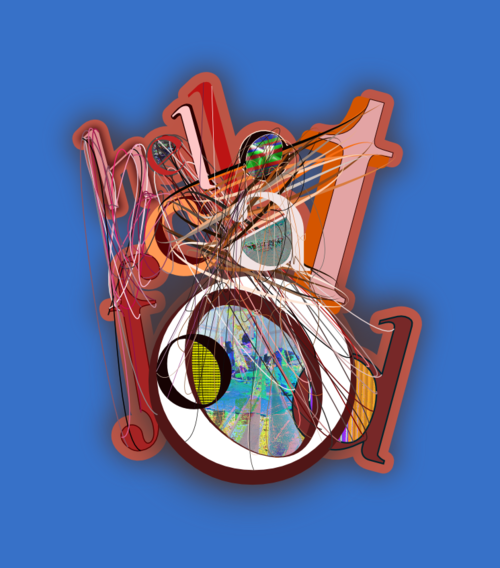
Inkscape tutorial: text manipulation

I’ve been messing around with Inkscape a lot recently and have found a few cool tricks. This all originally started as an attempt to recreate an effect I saw on the Inkscape website but quickly evolved into something different.

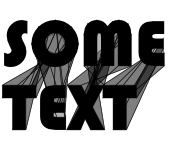
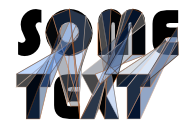
Here’s an example of the output I achieved.

Something I did earlier

Something I did earlier

What’s interesting about this is that it’s mostly the work of filters. For this tutorial we’ll be working with text in Inkscape 0.47pre0. To illustrate things better use a font that is very think. Even Arial Black will do. Create two different text objects

The original unmodified text

The original unmodified text

The manipulations we’re going to apply to this text will be affecting paths, so we need to convert this text to a path. To do this go to either Path > Object to path or press Ctrl + Shift + C. This separates the text into individual paths as a group. Ungroup them (Object > Ungroup or Ctrl + Shift + G) and then combine them as a single path using Ctrl + K. Next, position the text wherever you want it.

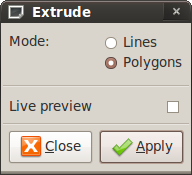
We want to create an extrude between to the two paths. For this you need two separate paths (you created these when you created the text). Click on both of them and then go to Extensions > Generate from path > Extrude.

Extrude window

Clicking on Lines will attempt to link each node of one path to the node of another path with just lines, whereas clicking Polygons will do something similar but link them with shapes. Click on Polygons then press Apply.

Text with extrude effect applied

Text with extrude effect applied

With the new polygons selected pick a hue for it. The reason I specify hue is because we’re going to be modifying the colour next and the filters we will be using will work with the current hue and modify it. As far as I’m aware it can’t modify shades i.e. black or white.

Colour on the extrude effect

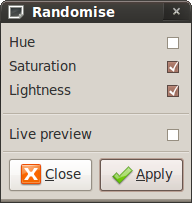
Click on Extensions > Color > Randomise.

Randomise extension window

Randomise extension window

From this window you have several choices. Randomising the Hue lets you have random colours. Randomising the Saturation will randomise the saturation i.e. if it’s a very vibrant colour or slightly dull. Randomising the Lightness will randomise the brightness i.e. if it is completely bright it will go white, if not it will go black. For this I recommend randomising the Saturation and Lightness. To get a preview of the output check the Live Preview option. If you’re not happy with the combination they’ve given you uncheck then recheck the Live Preview. Press Apply when you’re done.

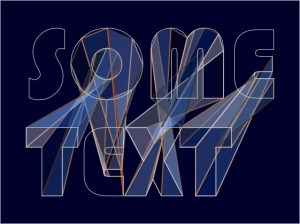
Finished text

For a finishing touch add a background and change the stroke colour

Completely finished!

Completely finished!

Voila!

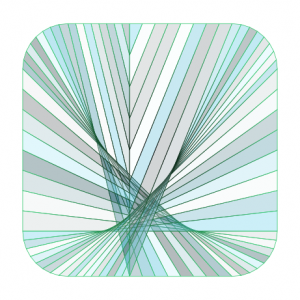
What else can be done with this effect? Well, you know that you need two different objects for this to work, so why not work with one object but then split it into two. In the example below I split a rounded square into two shapes then repeated this procedure.

Stained glass square

Stained glass square

One thing to note is that the more nodes you have the more polygons that will be created

I hope this tutorial has been useful. To extend this try messing around with the Jitter Nodes effect under Generate from Path 😉 For more of my experiments feel free to check out my flickr stream.

Trash

56|400

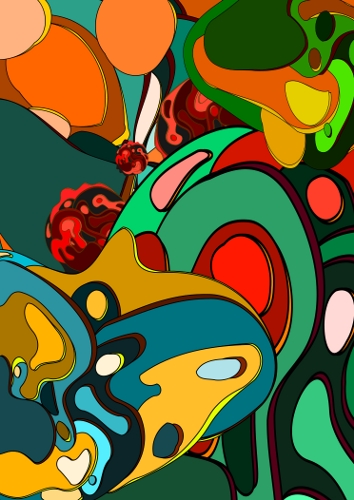
Under some very handy advice from some wise people I’ve gone back and given all of my pieces names. Seems only right that I should name them, afterall I wouldn’t name my child ‘Untitled’! Only three more of these to go, then you’ll see some work that’s more akin to graffiti.