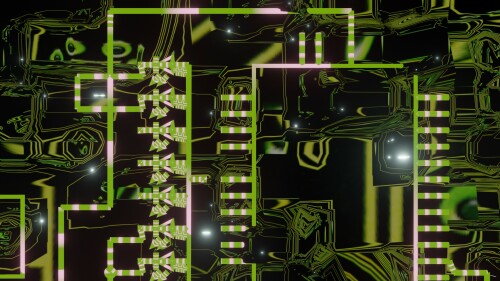
I’d like to return to the fifth video in the Design Yourself series to show how i did a glowing neon trail. The video is heavily themed around robots, and if you look in the background you’ll see that it’s actually a circuit board.

The circuit diagram was a random one I built using the rather excellent Fritzing software. If you’re ever looking for high quality SVG illustrations of electrical components then Fritzing is a great resource. I brought the exported SVG diagram into Blender to illustrate it a bit.
If you look closely you can see that the circuit board has a glowing trail. To achieve this effect I followed this tutorial:
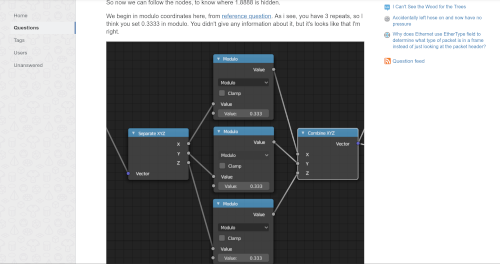
At around 6:00 the author tries to find the point where the neon trail position loops but does it visually. At first I was doing the same but then I remembered that in the past I had faced a similar problem when trying to loop the Wave texture. To get an answer for that question I consulted the Blender Stackexchange site
I adapted this a bit and came up with the following solution: To seamlessly loop the neon trail effect first insert keyframe with the Value of the Add node set to 0. Move to a point along the timeline where you want it to loop and add another keyframe to the Value of the Add node and type (0.3333*pi)/$scale (but replace $scale with whatever the Scale of the Wave texture is). My node setup is the same as in the video but here it is as well:
Now when you play the animation the neon trail effect will loop seamlessly!


