Typewriter Text Effect Revisited

For the fifth video in the Design Yourself series I was faced yet again with the task of doing a typewriter text effect. Yay… For each of the videos the participants wrote a poem to go with it. The poems were a really important part of the video so they needed to have a prominent role in the video beyond standard Youtube subtitles. At the time I was producing the video I didn’t yet know whether or not I wanted to use the typewriter text effect but I certainly wanted to explore it as a possibility. One of the first times I tried to achieve this was back in 2019 when I was making the video to promote the Algorave at the British Library.
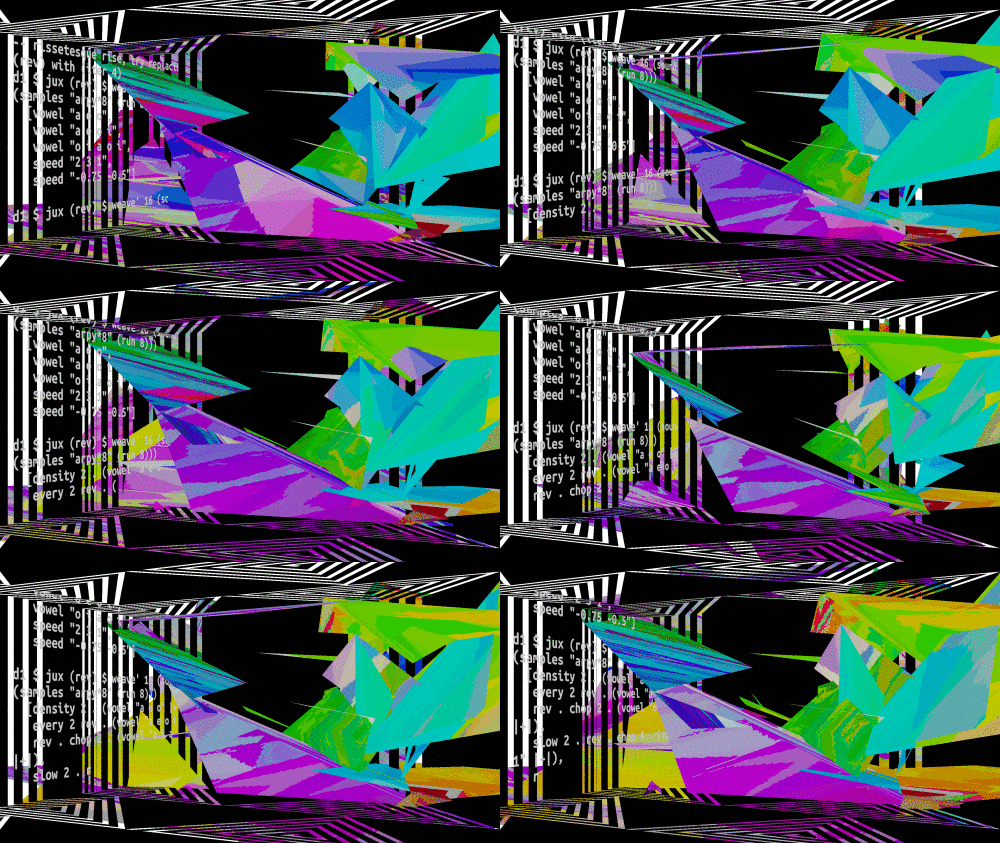
Since making that video, to add subtitles to a the second Design Yourself video I was using a Natron plugin that would allow synced playback of an audio file via VLC. By using this approach I could seek through the audio and add keyframes to the Text node when the text changed. This mostly worked but sometimes the audio did go out of sync. At some point afterwards I wondered if I could offload the editing of the subtitles – and maybe even subtitles with a typewriter text effect – onto another more specialised program and then import that into Natron later for compositing. Subtitle editing software already exist and are much better suited to editing subtitles than Natron.

I explained this on the Natron forum to one of the developers and some time later the Text node gained the ability to read an SRT subtitle file! An SRT file subtitle file format that is widely used on video files. If you open one up you can see exactly how it works:
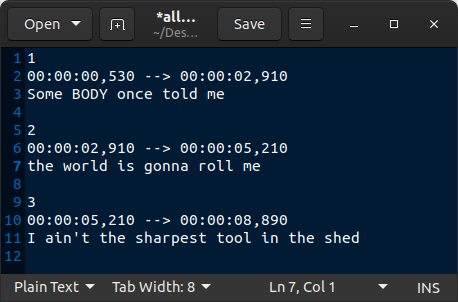
The way the SRT reading function works in the new Text node is it basically gets the time stamps of the text in the SRT file and assigns them to keyframes in the Text node.Yay! 🙂

The next stage in the equation was to find a subtitle editor capable of doing a typewriter text effect. There are several open source solutions out there including Subtitle Composer and Gaupol. One of the available software, Aegisub, has quite the feature set. It has a karaoke mode which, as you would expect, can let you edit the timing of words as they appear on screen.
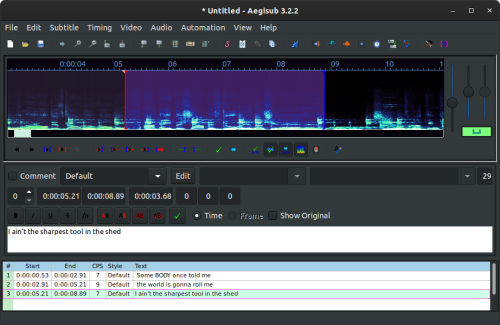
This sounds like the solution to my problem of getting a typerwriter text effect but there’s one big problem. The karaoke text mode only works if the file is exported as an .ssa file format. The SubStation Alpha file format supports lot of formatting options, including typewriter-like text effects. This is good except for Natron only supports .srt file format, and even if it did support .ssa files, I’d still want control over formatting.

To make this work in an SRT file what I needed was for , at user defined poitns, each word to be appended. For example:

1
00:00:00,000 --> 00:00:01,000
Some

2
00:00:01,000 --> 00:00:02,000
Some BODY

3
00:00:02,000 --> 00:00:03,000
Some BODY once

4
00:00:03,000 --> 00:00:04,000
Some BODY once told me

5
00:00:04,000 --> 00:00:05,000
Some BODY once told me the

6
00:00:05,000 --> 00:00:06,000
Some BODY once told me the world

7
00:00:06,000 --> 00:00:07,000
Some BODY once told me the world is

8
00:00:07,000 --> 00:00:08,000
Some BODY once told me the world is gonna

9
00:00:08,000 --> 00:00:09,000
Some BODY once told me the world is gonna roll

10
00:00:09,000 --> 00:00:10,000
Some BODY once told me the world is gonna roll me

It was clear that at this time the Aegisub SRT export can’t do this so in the meant time I made a feature request and reverted back to using the method I described in July 2019 Development Update which makes use of Animation Nodes.

But even then I had a few issues. To synchronise the text with the speech I was expecting that I could use keyframes to control the End value in Trim Text node. However, as explained by Animation Nodes’ developer, the keyframes of custom nodes aren’t visible on the Dope Sheet and so animate anyway. To get around this I used the suggestion by the developer:

I suggest you create a controller object in the 3d view that you can animate normally. Than you can use eg the x location of that object to control the procedual animation.
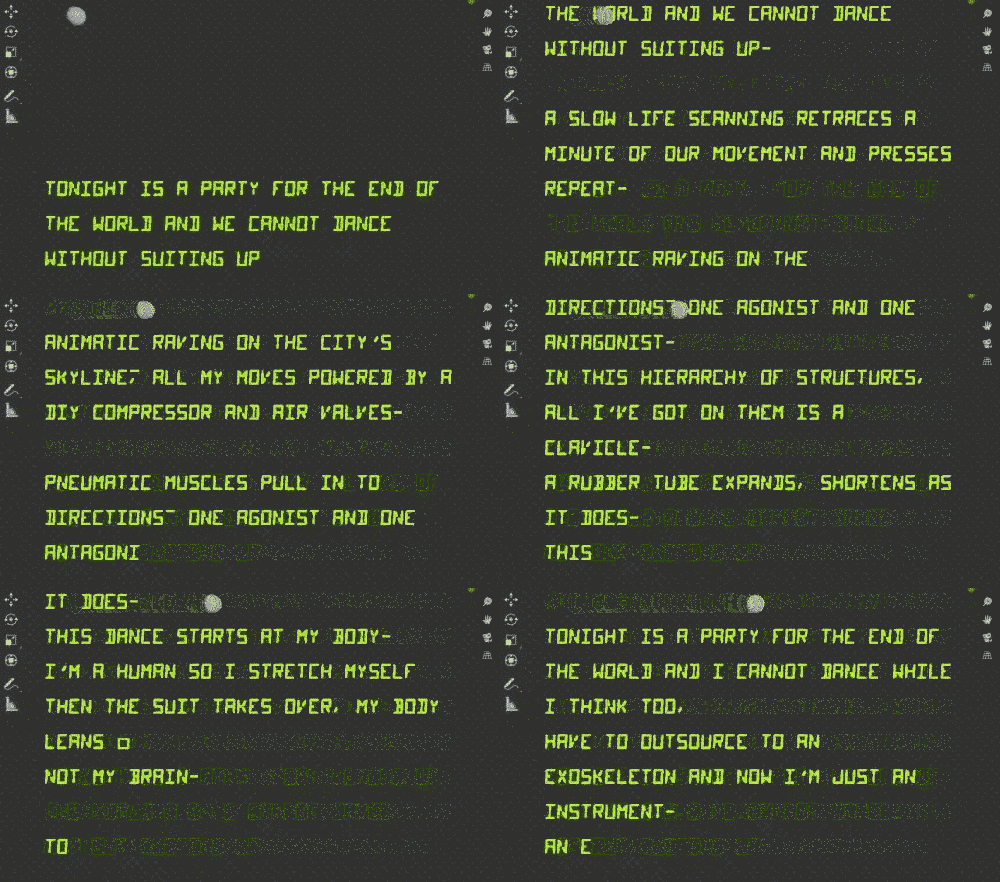
This worked in the viewer but not when I rendered it. What I instead got was just one frame rendered multiple times. This problem has been reported in Animation Nodes but the solutions suggested there didn’t work. Neither did doing an OpenGL render.

However, I came across this interesting bug repot . It seems like the crashing I was experiencing back in 2019 is a known bug. The solution suggested there was to use a script to render the project instead of the built in render function.

import bpy

scene = bpy.context.scene
render = scene.render
directory = render.filepath

for i in range(scene.frame_start, scene.frame_end):
scene.frame_set(i)
render.filepath = f"{directory}{i:05d}"
bpy.ops.render.render(write_still = True)

render.filepath = directory

The downside of this script is that it doesn’t show the animation being rendered. It also doesn’t allow you to set the start or end point of the render but that is easily accomplished by changing the range in line 7.

After all of that I was able to render the text with the rest of the video! Finished video is below:

I’m getting one step closer to being able to easily create and edit typewriter text using open source software…

Typewriter text effect

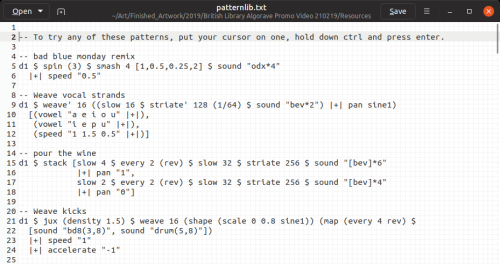
For the Algorave at British Library in April I was asked to make a promotional video for it, which proved a difficult but for a very specific reason. I wanted to emphasise the liveness of live coding and show code being typed. For this I used the code supplied with Alex McLean aka Yaxu’s excellent Peak Cuts EP.

The effect of having the text appear word-by-word or letter-by-letter is often called the typewriter text effect. I’ve previously written about how to do this in Pure Data/GEM. I needed to have a bit more control than what I got in PD, and I needed to export as transparent pngs so this solution wouldn’t work.

Kdenlive once had such an effect built into its title editor. Other solutions that used Kdenlive use a mask to reveal the text, which produced more of a fading in effect that wasn’t ideal. It was also a lot of manual work! I had several hundred lines of text so doing this was going to add a lot of time.

Natron was the next contender. Since 2017 it has had a plugin for doing typewriter text but it’s a bit broken. In theory in gives me the most flexibility in how I create it but in practice I still can’t get it to render!

I also considered using ImageMagick and was even provided with a solution (that was written for Windows). As much as I like automation and command line software, for this very visual task I needed to see what I was working on.

Finally, I turned to Blender, which gave me a few options, including rendering the text as 3D objects within the Blender project itself. After failing to get this Blender addon to work I tried using Animation Nodes. Following a tutorial I was able to set up quite a typewriter effect quite quickly. However, this is where I encountered a bug. After around 10 frames of the text were rendered the rest of the frames would take forever to render. Even in EEVEE each frame was taking about 10 minutes to render. I have no idea why this was. Perhaps it’s because 2.8 is in beta. Maybe because Animations Nodes for 2.8 is also in beta. Beta beta beta. Either way it wasn’t working.

So I thought maybe I could “bake” the animation which would remove the Animation Nodes dependency and maybe speed up the render. Sadly this was also not to be. Text objects can’t be baked 🙁

In the end I had to do an OpenGL render of the animation to pngs with a transparent background. How this differs from a normal render is that it renders the viewport as is. So if you have your gizmos on there it’ll render them out as well. Not ideal but it worked.

I would like to think it all stopped there but it did not.

Blender can have a video or series of images be a texture. However, at the time this was not possible in 2.8 using EEVEE. To my joy, however, this was implemented only a couple of days after i needed it!

Convert Object texture coordinates to UV in Blender

Making digital art is quite a lengthy process and even moreso if you’re using non standard processes or making your own software. For awhile I’ve wanted to write about my processes and how I’ve overcome the bugs and problems. In what will hopefully be a regular series of blog posts I’m going to give a bit of insight into this process. In a way it’ll be a tutorial. Let’s go!

For Visually Similar I wanted to texture each 3D model using lots of images found on the internet. Rather than create one single material containing a texture with all of the found images I instead decided I would add a material for each image texture and, using their alpha channels, composite them over each other.

If you’ve ever had to position something accurately on a UV map you’ll know how much of a pain it can be. So fortunately, in the Texture Coordinate node you can use the Object outlet to another object (usually an empty) as the source of its coordinates. This uses the reference object’s local Z direction as its up direction.

So far,so good, except it did not yet work in Blender’s new EEVEE rendering engine. Yes, yes, I know EEVEE is still under development and shouldn’t be used in production etc. Still, after doing a bit of research it looks like this is going to be implemented.

So, I had a rather smrat idea as a workaround. Could I take the UV coordinates generated by the Object oulet whilst using Cycles and paste those into the UV texture options using a Mapping node? Short answer: no. To do this I would need some sort of viewer or analyser node that would show me the data being output from a node. So, I suggested this idea on the Right-Click Select ideas website. A healthy discussion followed and hopefully something will come of it.

In the end I had to resort to baking the texture and then applying that to the 3D model. In doing this I learnt that baking a UV texture on a complex model will take a lifetime, and so I had to do it on a decimated model and then put that on the original, complex model. This, of course, created some unwanted artefacts. *sadface*

Since I originally encountered this problem it has actually been addressed in a Blender update! However, it only works at render time but it’s progress! 🙂

So that is some insight into how I make some of my art. There’s a lot of problem solving, lots of showstopping bugs and lots of workarounds. Somewhere in that process art is made! I’m hoping to do these every month but we’ll see how that goes.