Making digital art is quite a lengthy process and even moreso if you’re using non standard processes or making your own software. For awhile I’ve wanted to write about my processes and how I’ve overcome the bugs and problems. In what will hopefully be a regular series of blog posts I’m going to give a bit of insight into this process. In a way it’ll be a tutorial. Let’s go!
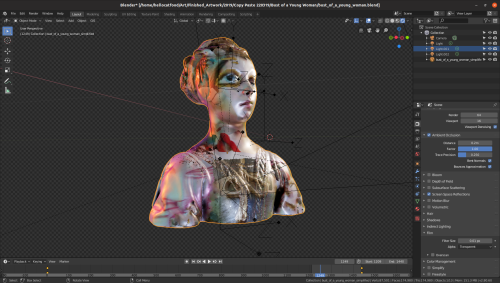
For Visually Similar I wanted to texture each 3D model using lots of images found on the internet. Rather than create one single material containing a texture with all of the found images I instead decided I would add a material for each image texture and, using their alpha channels, composite them over each other.

If you’ve ever had to position something accurately on a UV map you’ll know how much of a pain it can be. So fortunately, in the Texture Coordinate node you can use the Object outlet to another object (usually an empty) as the source of its coordinates. This uses the reference object’s local Z direction as its up direction.

So far,so good, except it did not yet work in Blender’s new EEVEE rendering engine. Yes, yes, I know EEVEE is still under development and shouldn’t be used in production etc. Still, after doing a bit of research it looks like this is going to be implemented.
So, I had a rather smrat idea as a workaround. Could I take the UV coordinates generated by the Object oulet whilst using Cycles and paste those into the UV texture options using a Mapping node? Short answer: no. To do this I would need some sort of viewer or analyser node that would show me the data being output from a node. So, I suggested this idea on the Right-Click Select ideas website. A healthy discussion followed and hopefully something will come of it.
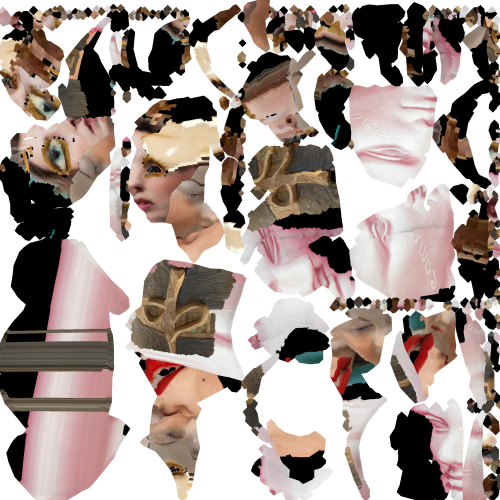
In the end I had to resort to baking the texture and then applying that to the 3D model. In doing this I learnt that baking a UV texture on a complex model will take a lifetime, and so I had to do it on a decimated model and then put that on the original, complex model. This, of course, created some unwanted artefacts. *sadface*

Since I originally encountered this problem it has actually been addressed in a Blender update! However, it only works at render time but it’s progress! 🙂
So that is some insight into how I make some of my art. There’s a lot of problem solving, lots of showstopping bugs and lots of workarounds. Somewhere in that process art is made! I’m hoping to do these every month but we’ll see how that goes.
