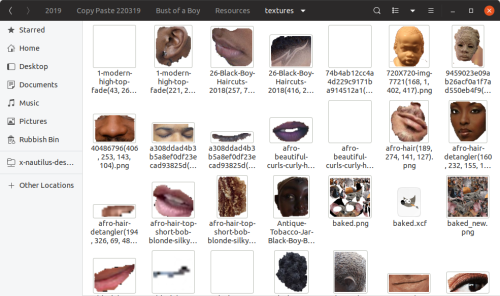
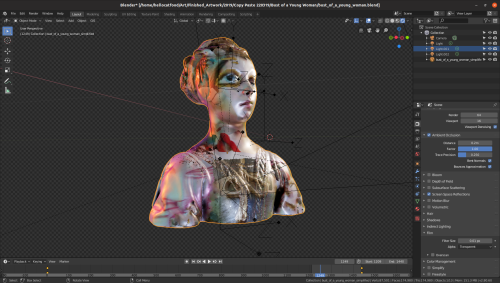
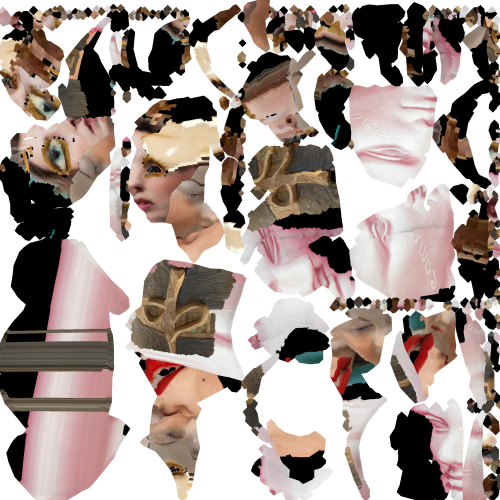
Another big part in creating the Visually Similar artwork was the image textures themselves. The idea for the piece is that the textures would be related in some way to the 3D model. I decided from the beginning that I wanted to have some control over this and so I gathered the images through keyword searches and reverse image searches.

But then I needed to cut out certain parts of them. I wanted it to look like a rough collage, as if the images were pages in a magazine that had been ripped out, leaving behind tears and occasionally ripping through the important bits.
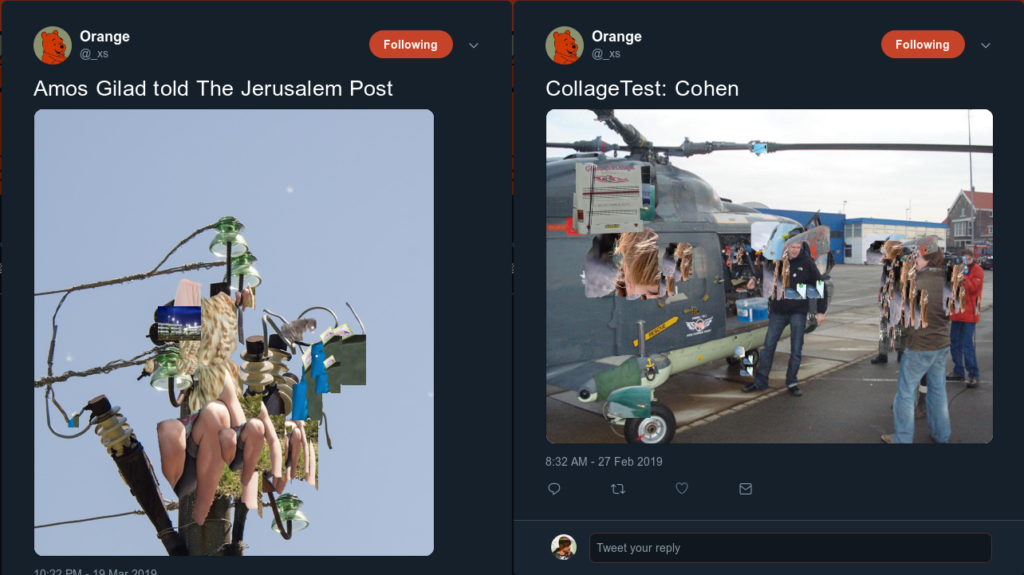
For awhile on of my Twitter friends, _xs, has had a bot on their feed that generates random collages. I haven’t studied the source code extensively but I’m guessing it does a keyword search and makes a collage out of the returned images.
What I was really interested in was how the images were cut out. It’s as if a sort of automatic feature extraction was used but wasn’t very accurate and so it left behind jagged edges that were almost reminiscent of the kind of ripped magazine aesthetic that I mentioned earlier.
Through a conversation with them I learned that they used a combination of automated object detection (to select the region of interest) and GrabCut to perform this automatic foreground extraction. Grabcut has been part of OpenCV for quite some time. Give it a region of interest (ROI) and it will attempt to extract the foreground.
_xs used this via the command line and automated the whole process. I needed a bit more control over defining the region of interest and so I needed a GUI where I could use a bounding box to select this. This is where the long hunt began.
OpenCV has its own GrabCut GUI example but it has an annoying flaw.
To select the ROI it displays the source image at full size. Meaning that if your source image is 4000 pixels wide it won’t fit on your screen (unless you have a fancy pants 4K screen). Not ideal when trying to select an ROI. What I needed was a way to scale the window to fit on my screen but still process a full resolution image.
If you search Github you’ll see a number of people have created GUIs for GrabCut, possibly for study assignments. However, each has their own problems. Some won’t compile, some resize the input and some have been abandoned. According to this 2006 article there was even once a GUI for GrabCut in GIMP. However, despite my best efforts I can’t seem to find it.
One night at OpenCode I learnt that OpenCV has a method for selecting an ROI! It even auto resizes the window but not the input image. Yay! So, I hacked it together with GrabCut and released my own very hacky Grabcut GUI. It appends to the file name the coordinates and dimensions of the ROI should you want to run this again but via the command line.
All this done with a mere seven days until the artwork had to be finished!


